How to Choose the Best Printed Label Stickers?
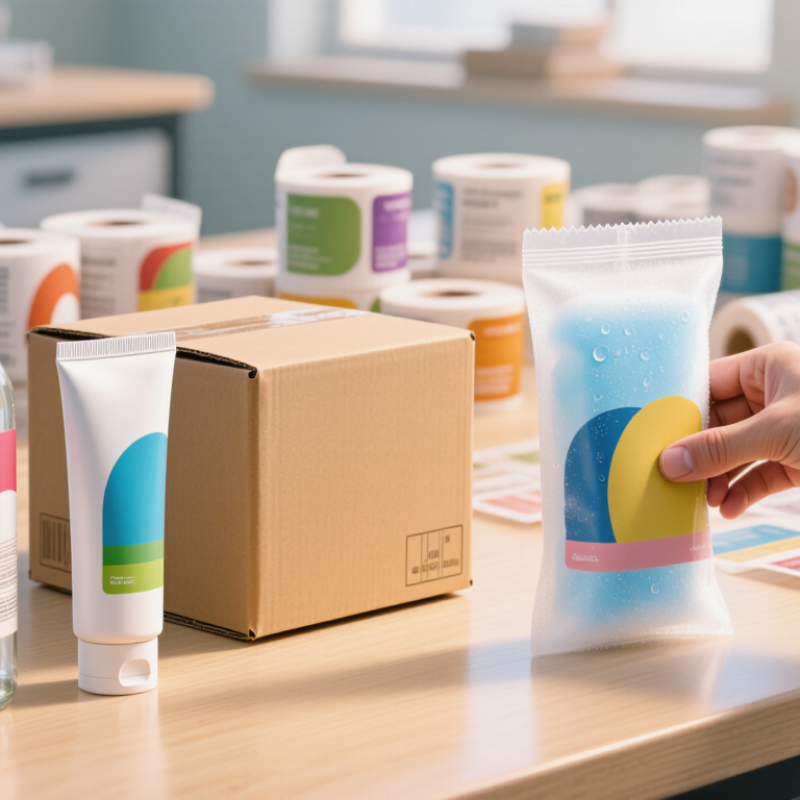
Choosing the best printed label stickers begins with the product, not the printer. A glass bottle, shipping carton, cosmetic tube, or freezer pouch creates different demands. Surface texture, moisture, temperature, handling, and storage time all affect performance. A label that looks excellent on paper may wrinkle on chilled packaging. Small details matter.
Industry research shows why this decision deserves careful attention. Grand View Research estimated the global printed labels market at approximately USD 45.22 billion in 2023. Its report also projects continued growth through 2030, supported by packaged goods, logistics, and brand customization. Smithers’ The Future of Printed Labels to 2028 highlights digital printing, shorter production runs, and variable data as important market developments. These trends give smaller brands more flexibility. They also create more choices, and more opportunities for costly mistakes.
In practical purchasing work, I compare the label material with the actual application environment. Paper can suit dry indoor packaging, while film may perform better around water, oils, or repeated handling. Adhesive selection deserves equal attention. Permanent, removable, and freezer-grade adhesives behave differently. Print quality is not only about sharp color. It includes barcode contrast, readable type, scuff resistance, and consistent registration across the roll. Food, cosmetic, and pharmaceutical packaging also require documented material suitability and supplier verification. Never trust a broad marketing claim alone.
Testing remains essential. Apply samples to the real container. Chill them, rub them, stack them, and inspect them after several days. The “best” label is not always the most expensive option. Nor is the cheapest option truly economical. I would still challenge one assumption: attractive samples can hide weak adhesion. A careful choice balances appearance, durability, compliance, order volume, and total cost.
Define Barcode Needs with GS1’s 0.330 mm EAN-13 X-Dimension
Choosing a printed label sticker starts with the barcode, not the artwork. For an EAN-13 symbol, GS1 lists 0.330 mm as the nominal X-dimension at 100% magnification. The X-dimension is the width of the narrowest bar or space. It influences the symbol’s total size and quiet zones. Shrink it carelessly, and scanners may struggle. Keep it readable. Actual performance also depends on contrast, ink spread, surface texture, and printer accuracy. Glossy coatings can reflect light, while rough paper can break narrow spaces.
Before approving a large order, print samples on the exact sticker material and printer setup. Measure the X-dimension with suitable verification equipment. Then test scanning from normal warehouse distances. Check curved packaging, cold storage, rubbing, and any laminate used during shipping. A clean digital file does not prove reliable physical performance. The uncomfortable lesson is that a slightly larger symbol may work better than a tiny, elegant one. Still, increasing size without checking the layout can crowd product text or reduce quiet zones. Document the selected magnification, material, printer settings, and verification results. Small production differences matter.
Select Paper or Film for ISO 4892-3 UV and Moisture Exposure
How to Choose the Best Printed Label Stickers?
Select Paper or Film for ISO 4892-3 UV and Moisture Exposure
Choosing paper or film starts with the exposure, not the label’s appearance. ISO 4892-3:2016 describes fluorescent UV testing with repeated cycles. In Cycle 1, samples receive eight hours of UV exposure at 60°C, followed by four hours of condensation at 50°C. These conditions reveal fading, edge lifting, adhesive failure, and surface cracking.
Paper labels can feel natural and print with sharp detail. However, moisture may soften their fibers and create visible edge curl. Film labels usually resist water better and maintain dimensional stability. They are often safer for outdoor equipment, refrigerated packaging, and humid storage rooms. Still, film is not automatically superior. Poor ink adhesion or an unsuitable adhesive can fail during condensation.
Test the actual construction.
A professional label-industry durability report should separate paper, film, ink, varnish, and adhesive results. Do not judge material from face stock alone. In practice, I have seen a strong film label fail because its adhesive was poorly matched to a textured container. That detail is easy to miss. ASTM and ISO test methods also warn that laboratory exposure does not perfectly reproduce every outdoor environment. Select samples, expose them under ISO 4892-3 conditions, and inspect color change, curl, adhesion, and readability at each interval.
Specify Adhesives Using ASTM D3330 Peel and D3654 Shear Test Data
How to Choose the Best Printed Label Stickers?
Choosing the best printed label sticker starts with the adhesive, not the artwork. A sharp image cannot rescue a label that lifts from a cold carton. ASTM D3330 peel testing measures the force needed to remove adhesive from a defined surface. In practice, technicians apply a controlled strip, then record peel force at a set angle and speed. Ask for the substrate, dwell time, temperature, and failure mode.
ASTM D3654 shear testing examines holding power under a constant load. This matters when a label supports a hanging tag or remains on a vertical container. A sample is bonded to stainless steel or the intended packaging surface. A weighted mass pulls downward until the bond slips or fails. Longer holding time usually suggests better shear resistance, but it does not prove easy application or clean removal.
Use both results when specifying label stock. For a refrigerated box, request peel data after chilled conditioning, not only room-temperature results. For dusty recycled cardboard, test the actual surface. Small details change outcomes. A label may pass stainless-steel testing yet fail on textured paper. Production teams sometimes choose the highest peel number and overlook liner release, application pressure, and storage humidity. That shortcut is tempting, but incomplete. Require test dates, sample construction, and acceptance limits before approving production. Leave room for retesting; real packaging is rarely perfectly consistent.
How to Choose the Best Printed Label Stickers?
Adhesive screening comparison using ASTM D3330 180° peel strength and ASTM D3654 shear holding power.
Acrylic adhesives generally provide a balanced combination of peel adhesion and long-term shear resistance.
Removable acrylic is easier to cleanly remove but usually has lower peel and shear performance.
Hot-melt rubber adhesives can deliver high initial peel adhesion, while their shear resistance may decline under sustained load and elevated temperature.
Actual results depend on the facestock, liner, surface energy, dwell time, temperature, coating weight, and test conditions.
Representative non-brand screening values: peel strength is shown in N/25 mm; shear holding power is shown in hours under a constant-load ASTM D3654-style test. Verify final adhesive selection with application-specific laboratory testing.
Validate Barcodes to ISO/IEC 15416: GS1 Minimum Grade 1.5/06/660
How to Choose the Best Printed Label Stickers?
A reliable label begins with barcode verification, not visual appeal. GS1 reports that barcodes support more than six billion scans worldwide each day. Small print defects can therefore create repeated failures across warehouses, stores, and delivery points.
Use ISO/IEC 15416 grading for printed one-dimensional barcodes. The GS1 target is a minimum grade of 1.5/06/660. The first value is the overall quality grade. The second specifies a 0.06 millimetre aperture. The final value identifies the 660 nanometre light source. This measurement setup should appear in the verification report.
The number matters.
A verifier checks symbol contrast, edge contrast, modulation, defects, decodability, and quiet zones. A glossy sticker may look sharp but scatter light during scanning. Dark ink can also spread into narrow white spaces. I have seen clean-looking labels receive weak grades after temperature exposure. That result is easy to underestimate.
Select a label material that matches the surface, ink, printer, and handling conditions. Test several samples, including the darkest and lightest areas. Verify after printing, not only from the design file. GS1 General Specifications Release 24.0 recommends controlled symbol quality and clear light margins. ISO/IEC 15416:2016 provides the grading framework.
One test is not enough.
Record the verifier model, aperture, wavelength, grade, and test location. Repeat testing after abrasion, moisture, and storage. Real conditions often expose assumptions that a quiet laboratory sample hides.