10 Tips for Printing Labels for Your Business
Labels do quiet work. They identify products, carry instructions, and shape the first impression on a shelf. For a small business, a smudged barcode or peeling corner can undermine an otherwise careful package. Printing labels is therefore more than choosing a design; it means matching materials, print methods, and finishing to the product’s real conditions.
The market is substantial. Grand View Research estimated the global labels market at USD 45.22 billion in 2023 and projected a 4.8% compound annual growth rate from 2024 to 2030. That growth reflects labels’ continuing role across consumer goods, food, healthcare, and logistics. Smithers’ research on label printing also tracks the changing mix of digital and conventional production. The practical lesson is not that one method suits every order. Short runs may favor flexibility; large runs may reward consistency and lower unit costs. It depends.
These ten tips will help you make better decisions before sending artwork to a printer. Check the label against the actual container. Test whether small text stays readable under store lighting. Ask how the adhesive behaves on a cold bottle or a dusty carton. Then review a physical proof, not just a screen preview. Details matter. A useful process still leaves room to reconsider: the cheapest stock may not survive handling, and a beautiful finish may obscure essential text. Verify each choice with your printer and product requirements.
Define Label Requirements and Choose the Right Label Material
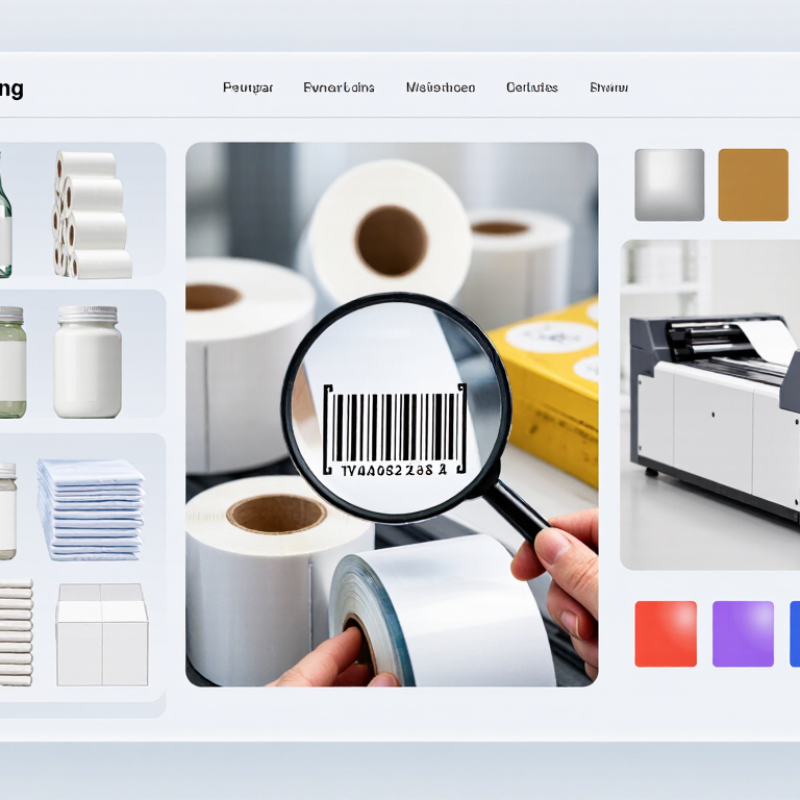
Before ordering, write down what each label must do. Note the information it must carry, the surface it will touch, and how long it needs to remain readable. A shipping label has different demands from a small product label on a jar. Include barcode size, color, label dimensions, and daily print volume in your requirements.
Then match the material to real conditions. Paper is often suitable for dry, short-term use. For labels exposed to moisture, rubbing, or frequent handling, a synthetic material may last longer. Check the adhesive, too: a label that lifts from a curved bottle or dusty carton can cause delays. The surface matters.
Printer compatibility is easy to overlook. Some printers need specific label coatings or rolls, so confirm the material works with your equipment before buying in bulk. Consider whether the label will face sunlight, refrigeration, oils, or cleaning. Small tests help. Print a sample, apply it to the actual packaging, and check adhesion and readability after handling. Test before ordering.
Requirements can change as products or packaging change. Revisit your choices when a container, storage condition, or print process shifts. A material that worked last season may not work now. Even careful testing has limits; a short trial may miss problems that appear after weeks in storage.
Create Clear, Consistent Designs for Your Business Labels
A useful business label answers one question quickly: what is this, and what should the customer notice? Choose a clear size before designing, then give the product name the strongest position. Keep supporting details secondary. Use a readable typeface, strong contrast, and a restrained color palette. Small details matter. A pale gray line may look elegant on screen but disappear on textured paper.
Build one layout and reuse it across product sizes. Keep the logo, type styles, spacing, and color choices consistent, while allowing names or product details to change. Leave enough space around text so trimming does not crowd the edges. Check that essential information remains legible at the actual printed size, not just when enlarged on a monitor. Tiny type is tempting when space runs short, but it often makes a label feel less trustworthy.
Print one sample. Review it under ordinary store or workspace lighting, and check the colors, alignment, and surface finish. Match the label material to its setting: a container handled with damp hands may need a more durable option than a dry carton. Printer settings and paper can shift colors slightly, so keep a physical reference for future batches. Even a careful template can miss something; a date field or narrow margin may need another pass.
10 Tips for Printing Labels for Your Business — Create Clear, Consistent Designs for Your Business Labels
| Tip | Design Focus | What to Do | Before Printing |
|---|---|---|---|
| 1 | Choose the Right Label Size | Measure the available surface and allow enough space for required text, symbols, and any barcode. Keep important content away from edges and curved areas. | Print a paper sample at actual size and check that it fits the product or package. |
| 2 | Use Readable Type | Choose a clear typeface and create a distinct hierarchy for the product name, key details, and supporting information. Avoid using several competing font styles. | Review a printed sample at the size customers will see it, not only on a screen. |
| 3 | Maintain Strong Contrast | Use clear contrast between text and its background. Dark text on a light background is often easier to read than low-contrast color combinations. | Check legibility under typical lighting and, if color is important, review a physical proof. |
| 4 | Set Suitable Image Resolution | Prepare raster images at the intended print size. A resolution of 300 pixels per inch is a common starting point for detailed commercial print artwork. | Inspect images at print size for blur or pixelation; use vector artwork for logos and simple graphics when available. |
| 5 | Allow for Bleed and Safe Areas | If artwork extends to the edge, add bleed according to the printer’s specifications. Keep text and essential graphics inside the safe area. | Confirm bleed, trim, and safe-area requirements with the printer before exporting the final file. |
| 6 | Match Material to Use | Select label stock and adhesive based on the surface and conditions, such as moisture, refrigeration, handling, or exposure to sunlight. | Test the label on the actual surface and under the expected storage and handling conditions. |
| 7 | Keep Color Consistent | Use a consistent color palette and provide print-ready color values in the format requested by the printer. Colors on screen may differ from printed results. | Approve a printed proof when color matching is important, especially for repeat orders. |
| 8 | Design Barcodes for Scanning | Use a suitable barcode size, preserve the clear space around it, and avoid placing it across seams, folds, or highly curved areas. | Scan a printed sample with the intended scanning equipment before producing a large run. |
| 9 | Check Required Information | Review product details, ingredients or material information where applicable, directions, and other required content for the product and market. | Proofread every line and verify applicable labeling rules before approving the artwork. |
| 10 | Proof Before a Full Run | Review the final file for spelling, alignment, cut lines, artwork placement, and print settings. Start with a proof or small test batch when possible. | Keep an approved reference sample and compare it with later print runs for consistency. |
Select a Printer and Configure the Print Settings
Choose a printer around your label stock, daily volume, and expected lifespan. Direct thermal suits short-lived shipping labels; thermal transfer is often better for labels exposed to heat, light, or handling. Match the print width to the label roll, and choose 300 dpi when small text or fine barcodes must remain crisp. Smithers’ 2023 report, The Future of Label Printing to 2028, estimated the global label-printing market at $49.9 billion in 2022. That scale reflects varied needs, not one ideal printer.
Tips: Confirm the printer supports your material and core size before ordering. A roll that fits poorly can skew, wrinkle, or waste labels.
Configure the print settings for the actual stock, not just the screen preview. Set label width and height, gap or black-mark sensing, print speed, and darkness. Run the printer’s media-calibration routine after loading a new roll. Then print a small batch and scan several barcodes with a handheld reader. If edges look fuzzy, reduce speed or check the printhead; more darkness is not always better. Even a tidy setup can drift.
Tips: Keep one approved sample beside the printer. Compare new batches under the same light, and record settings that work. I would still recheck after changing stock; that step is easy to skip.
Prepare Label Files and Test Print Before Production
A clean label begins with a reliable file. Set the finished dimensions, include bleed, and keep essential text inside a safe margin. Use the printer’s requested color mode and resolution; a screen preview cannot reveal every print defect. Export a press-ready PDF, then inspect it at actual size. Check small type, dielines, white ink layers, and barcode quiet zones. I still miss tiny spacing errors sometimes.
GS1’s General Specifications use barcode quality grades from 0.0 to 4.0, based on ISO/IEC 15416. Grade C spans 1.5–2.4, though the required grade depends on the application. A test label should therefore be scanned with a verifier, not just a phone. Confirm the code reads on the final stock, especially if the material is glossy, textured, or colored.
Print a short sample on the intended label material before approving the full run. Compare it with the approved proof under consistent lighting. Check color, registration, cut position, adhesive behavior, and whether fine details remain legible. Then test the label on the actual container; curved surfaces can shift artwork or create wrinkles. Record the settings and any changes. One small imperfection is useful feedback, not a reason to skip the next check.
Label File Preflight: Checks Before Production
Use this checklist to prepare label files and review a test print before approving a production run.
Counts represent items in this practical checklist, not survey results. Check artwork dimensions and bleed, proofread text, verify barcode readability, confirm color and material settings, and inspect a test print for size and alignment.
Inspect Printed Labels and Improve the Process Over Time
After each print run, inspect several labels from the beginning, middle, and end. A single good sample cannot show whether alignment drifted later. Check that text is sharp, colors look consistent, and no edges are clipped. Small flaws matter. Look closely at fine print under bright, neutral light, not just at arm’s length.
Test a barcode with the scanner used in daily work. Then rub a label gently and check whether ink smears or the corners lift from the intended surface. Adhesion can change with dust, moisture, or cold storage, so inspect labels under realistic conditions when possible. Even a careful check can miss a problem; record where and when each sample was taken.
Keep a simple log of defects, printer settings, label stock, and room conditions. If text fades, change one setting at a time and print a small test batch before making a full run. This makes the cause easier to identify, though it can feel slower on a busy day. Review the log every few weeks. Repeated misalignment may point to a setup issue, while occasional smudges may need closer monitoring. Adjust the inspection routine as products, packaging, or handling conditions change.
Related Posts
-
10 Best Places If I Need Labels Printed?
-

Top 10 Personal Labels Buyers Need to Know for Success?
-
What Are the Benefits of Personal Labels in Global Trade?
-
Why Are Labels and Labeling Important for Buyers?
-
What Are the 2026 Best Types of Labels for Business?
-
How to Use Preprinted Labels for Easy Organization and Efficient Labeling?